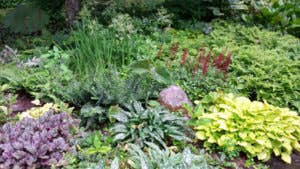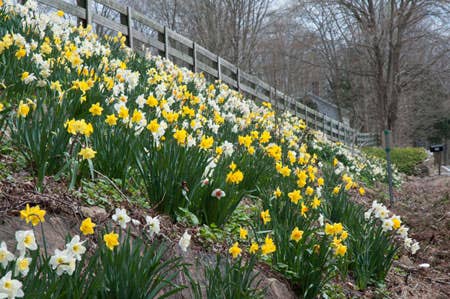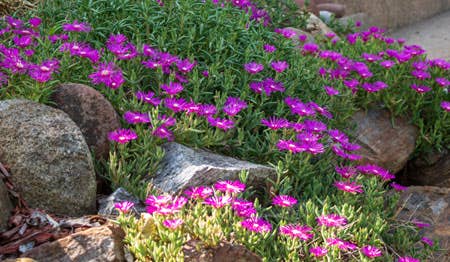
When we think of planting bulbs in the fall, we naturally think of putting them in the ground. Yet growing bulbs in containers isn't difficult, and offers tremendous design flexibility, especially when one uses the layered technique described here, with several varieties in the same pot. There are endless possibilities for container color schemes, including pastels, your old school colors, or even all-white evening gardens. In general, bulbs that have short, sturdy stems are best suited to container gardening because they are less likely to topple over, and varieties billed as early bloomers are easier to force indoors.
Just like bulbs growing in the ground, potted bulbs will need 12 to 16 weeks of chilling in order to set blossoms. After chilling, they can be taken into the house for early forcing into bloom, or planted in pots outside, once the danger of hard freezes has passed.
- Choose a container You'll need to select a container that is tall enough to provide the proper planting depth for the bulbs. A good rule of thumb is to allow three inches of height per layer of bulbs. Be sure to choose a pot with a broad base, otherwise the container may become top-heavy once the bulbs begin to grow. It should have drainage holes, and a matching saucer, if you intend to take it indoors, to help catch any overflow when you water.Plastic pots are lightweight and easy to carry once filled with soil and bulbs. Terra-cotta pots also work well, but they are much heavier to move. If you have window boxes, baskets, or large, heavy, decorative pots, you'll want to consider purchasing plastic liners for them. These liners can be slipped into place in the spring for instant gratification. If you pot up several different liners with early, mid-spring, and late-spring bulbs, you can rotate them for an entire season of bloom without a lot of effort or expense.
- Lay out your bulbs It's easier to layer the bulbs in your pot if you choose ones that need to be planted at different depths. In general, larger bulbs, such as tulips and daffodils, are planted more deeply than smaller bulbs. Check the planting instructions included with your bulb purchase. Odd numbers of flowers tend to have a nicer appearance in a round pot than even numbers. Lay the bulbs out on a table or other flat surface, in the order in which you want to plant them.
- Add gravel Covering the bottom of the pot with a one-to two-inch-thick layer of gravel will keep the soil from falling through the holes in the pot and improve the drainage. It will also deter hungry mice or voles from climbing through the drain holes to eat your bulbs, and will help to counterbalance the weight of the flowers once they bloom.
- Fill with soil and bulbs Add a couple of inches of soil—such as a coarse potting mixture of peat and bark—over the gravel. Position the bottom layer of bulbs in the pot. If voles, gophers, or deer are a problem in your area, it's a good idea to treat your bulbs with a repellent before you cover them with soil. Apply them according to the directions on the bottle. Add enough soil to just cover the bulbs. Then add the next layer of bulbs, covering them with soil. Repeat until you've planted all of the bulbs. If you plan to recycle your bulbs into the garden after they have bloomed, top-dress the planting with a slow-release fertilizer like Holland Bulb Booster.
- Topping the pot with an inch-deep layer of sharp gravel will help to protect the bulbs and keep them from heaving while they root. Water the pot well to encourage the roots to grow.
- Chill Your potted bulbs will need to be chilled for 12 to 16 weeks in order to grow roots and to flower. This chilling process is called vernalization, and winter is long and cold enough in most areas of the country to chill them outside, as long as the pots are given enough protection. Here in Tidewater, Virginia (USDA Zone 7), we place our pots along the north side of the house and cover the top and sides of the pots with an 8- to 10-inch layer of leaves, pine needles, or straw. This keeps the winter sun from warming the bulbs enough on balmy winter days to break their dormancy. For colder zones, you'll want to use a thicker protective layer.
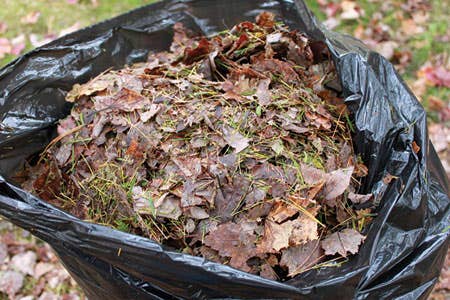
Additional Ways to Overwinter Individual pots can also be stored in large plastic garbage bags stuffed with leaves. Pack in the leaves thickly and leave the bag open at the top to allow for air exchange. You can also store single pots in an old cooler, as long as you open it occasionally to let out the ethylene gas, which the bulbs produce even when they do not appear to be actively growing.
Pots can also be chilled in an unheated garage, a cool basement, a shaded cold frame, or an old refrigerator, as long as temperatures are between 30° and 40°F. They will need to be lightly watered every few weeks to keep them moist but not damp.