How to Create Compost without a Compost Pile
Learn the pros and cons of 6 composting methods that do not require a compost pile
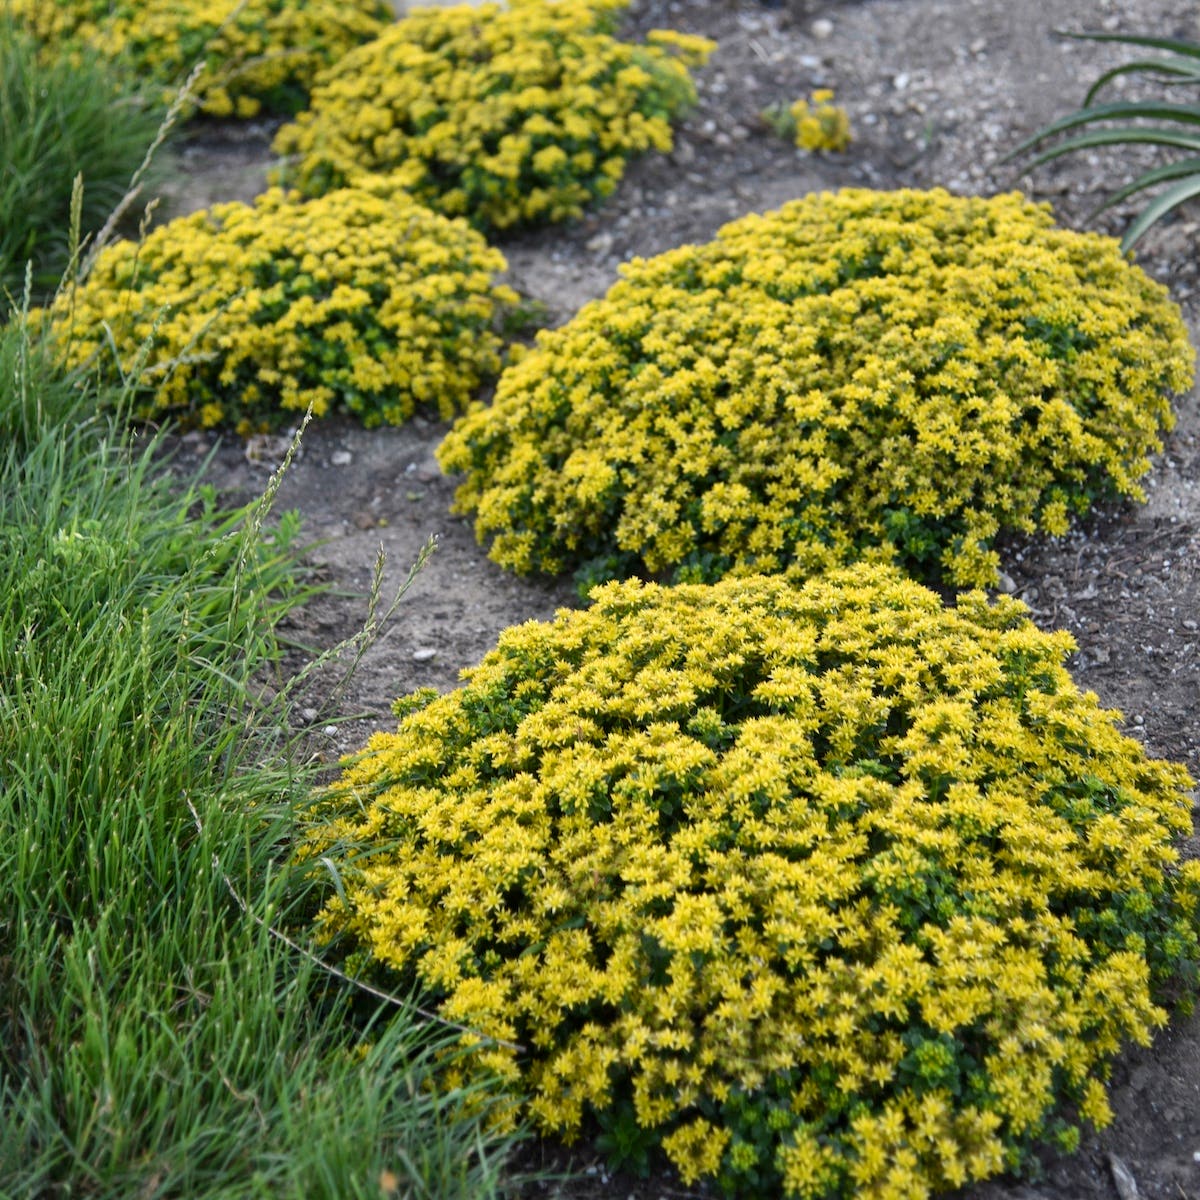
Compost is the not-so-secret ingredient for a successful garden. Many gardeners love to create their own compost, putting garden and kitchen waste to good use and ultimately sending less material to landfills. But not every gardener has the space for a classic compost bin or wants to take on the maintenance one requires. Fortunately, several small-scale composting methods exist to turn leftovers into garden gold.
Build a Garden with Sheet Composting
Also known as lasagna gardening, sheet composting is a no-fuss method of handling larger amounts of lawn and garden clippings and kitchen waste to create a practically weed-free, nutrient-rich garden. With this method, the materials decompose in place, becoming a rich bed that the gardener plants directly into. It is best to start in the fall so that the space is ready for planting in late spring.
There are variations to sheet composting, but generally plan on a three-layer approach. The first layer uses four to six pieces of newspaper stacked atop each other, or one sheet of cardboard. (If it's breezy, water down the newspaper so it doesn't blow away.) On top of this, add two to four inches of “green” matter, such as grass clippings from an untreated lawn, kitchen scraps, garden trimmings and well-aged manure. The third layer contains “brown” materials, including leaves, straw, wood ashes and more newspaper. Continue applying these layers until the pile stands anywhere between two and three feet tall. The space will be ready for planting in about six months.
Pros of sheet composting
- This is a terrific way to use large amounts of lawn and garden debris
- You don't have to turn the pile at all
- Using layers like this smothers weeds and turf grass, meaning it’s an easy way to convert lawn to garden
Cons of sheet composting
- The process takes a long time
- Sheet composting does not produce enough heat to kill weed seeds; watch what you add to the pile so you’re not inadvertently sowing undesired plants
- If you're in an area where animals are an issue (especially bears and raccoons), they may be attracted to the food waste in the pile
Trench Composting Is a Cinch
Trench composting is the uber-simple way to handle food waste. All you need to do is dig a hole and bury your kitchen scraps.
The most efficient way to do this is to dedicate a garden row or bed to the method. Dig a trench 8 to 10 inches wide and approximately 12 inches deep in the dedicated space. Leave the excavated soil alongside the trench and use it to cover your food waste as you add it.
An even easier way is to dig foot-deep holes to bury scraps as needed—although you will need to remember where you’ve dug and filled such holes!
Pros of trench composting
- You have to do nothing more than bury the scraps
- It is a terrific way to take care of daily kitchen waste
- You will see a worm bonanza before long
Cons of trench composting
- You can only plant in the area after you know the waste has decomposed, which can take up to a year
- Citrus peelings do not compost well; avoid adding them to the trench or hole
- Trench composting is challenging to do when the ground is frozen or buried in snow
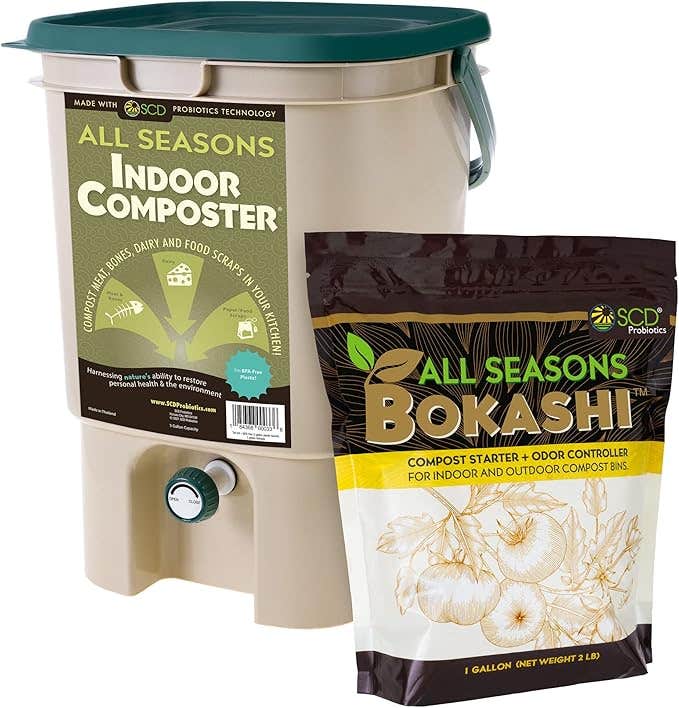
Bokashi Composting Basics
Bokashi is a Japanese composting method in which select microbes are infused with a bran base and sprinkled over compostable materials, including meat and dairy products, to ferment them. This predigests the scraps so that they break down in the soil more easily.
Bokashi composting takes place in a bucket with a spigot at its base to drain off the valuable liquid created during the fermentation process. Add the kitchen waste, ideally chopped into two-inch or smaller pieces, and sprinkle roughly a tablespoon of Bokashi bran over each one-inch layer of kitchen waste. Drain the juice daily, and the batch is ready in two weeks.
Bury the fermented product in a 12-inch-deep trench in the garden.
Pros of bokashi
- The fermented food incorporates quickly into the soil once it's buried, instead of taking months to break down
- You can compost meat, dairy products and cooked leftovers
Cons of bokashi
- The fermenting foods take on a vinegar-like odor towards the end of the process
- You must drain the liquid from the bucket daily
- Burying the bucket’s contents in the garden in cold regions during winter can be challenging
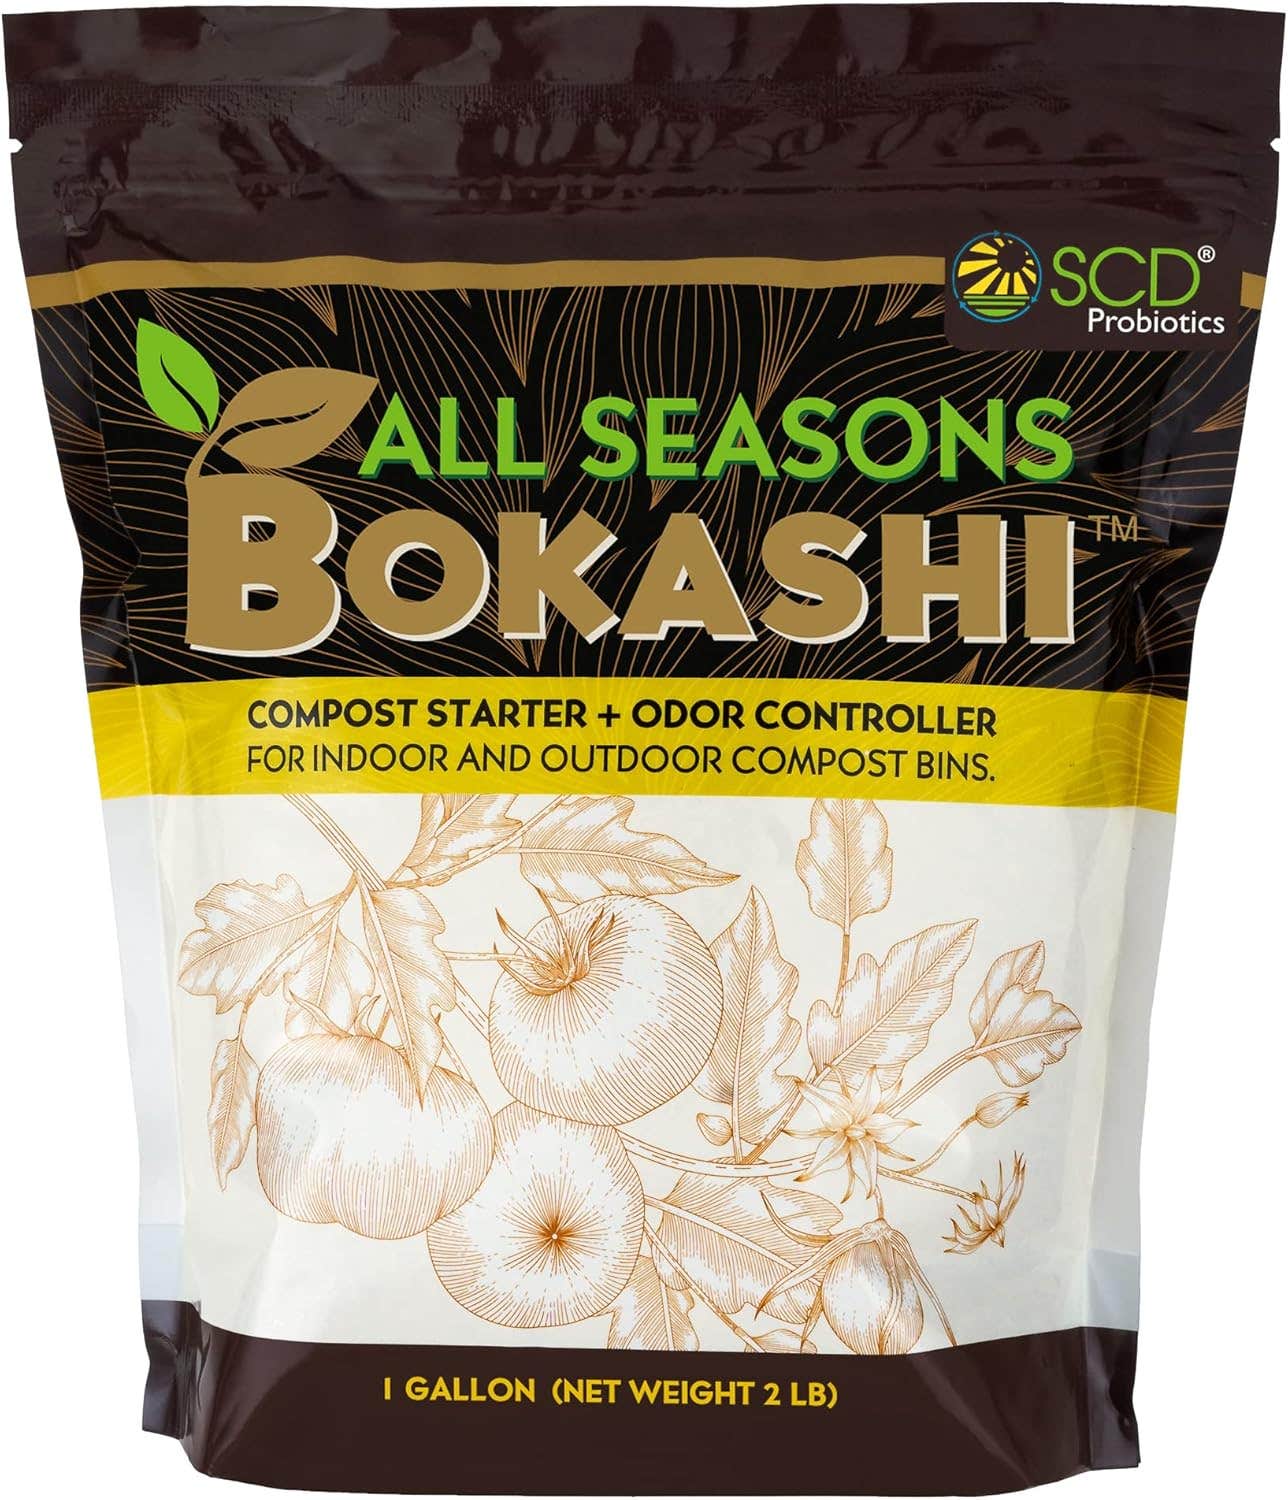
All Seasons Bokashi Compost Starter 2 lbs
The Magic of an Electric Composter
It seems like a miracle to go from kitchen waste to beautiful compost within hours, but it's a reality with an electric composter. There are several models on the market, but one such as Newair's Luma Kitchen Composter, which holds 2.5 liters, works well for a family of three or four.
Fill the metal bucket with food scraps, including meat and leftovers, and place it in the machine. Turn on the unit, and it will dry, grind and cool the materials within five to six hours, reducing it to roughly three-quarters of a cup of compost.
Pros of electric composters
- Even while grinding the materials, this is a quiet machine
- It is amazing to have finished compost within such a short time
- There is no odor and no mess
Cons of electric composters
- These machines cost anywhere from $80 to $400, while other composting methods are $0
- You can't compost a lot of kitchen waste at a time
- There is not enough room in the bucket to compost garden trimmings
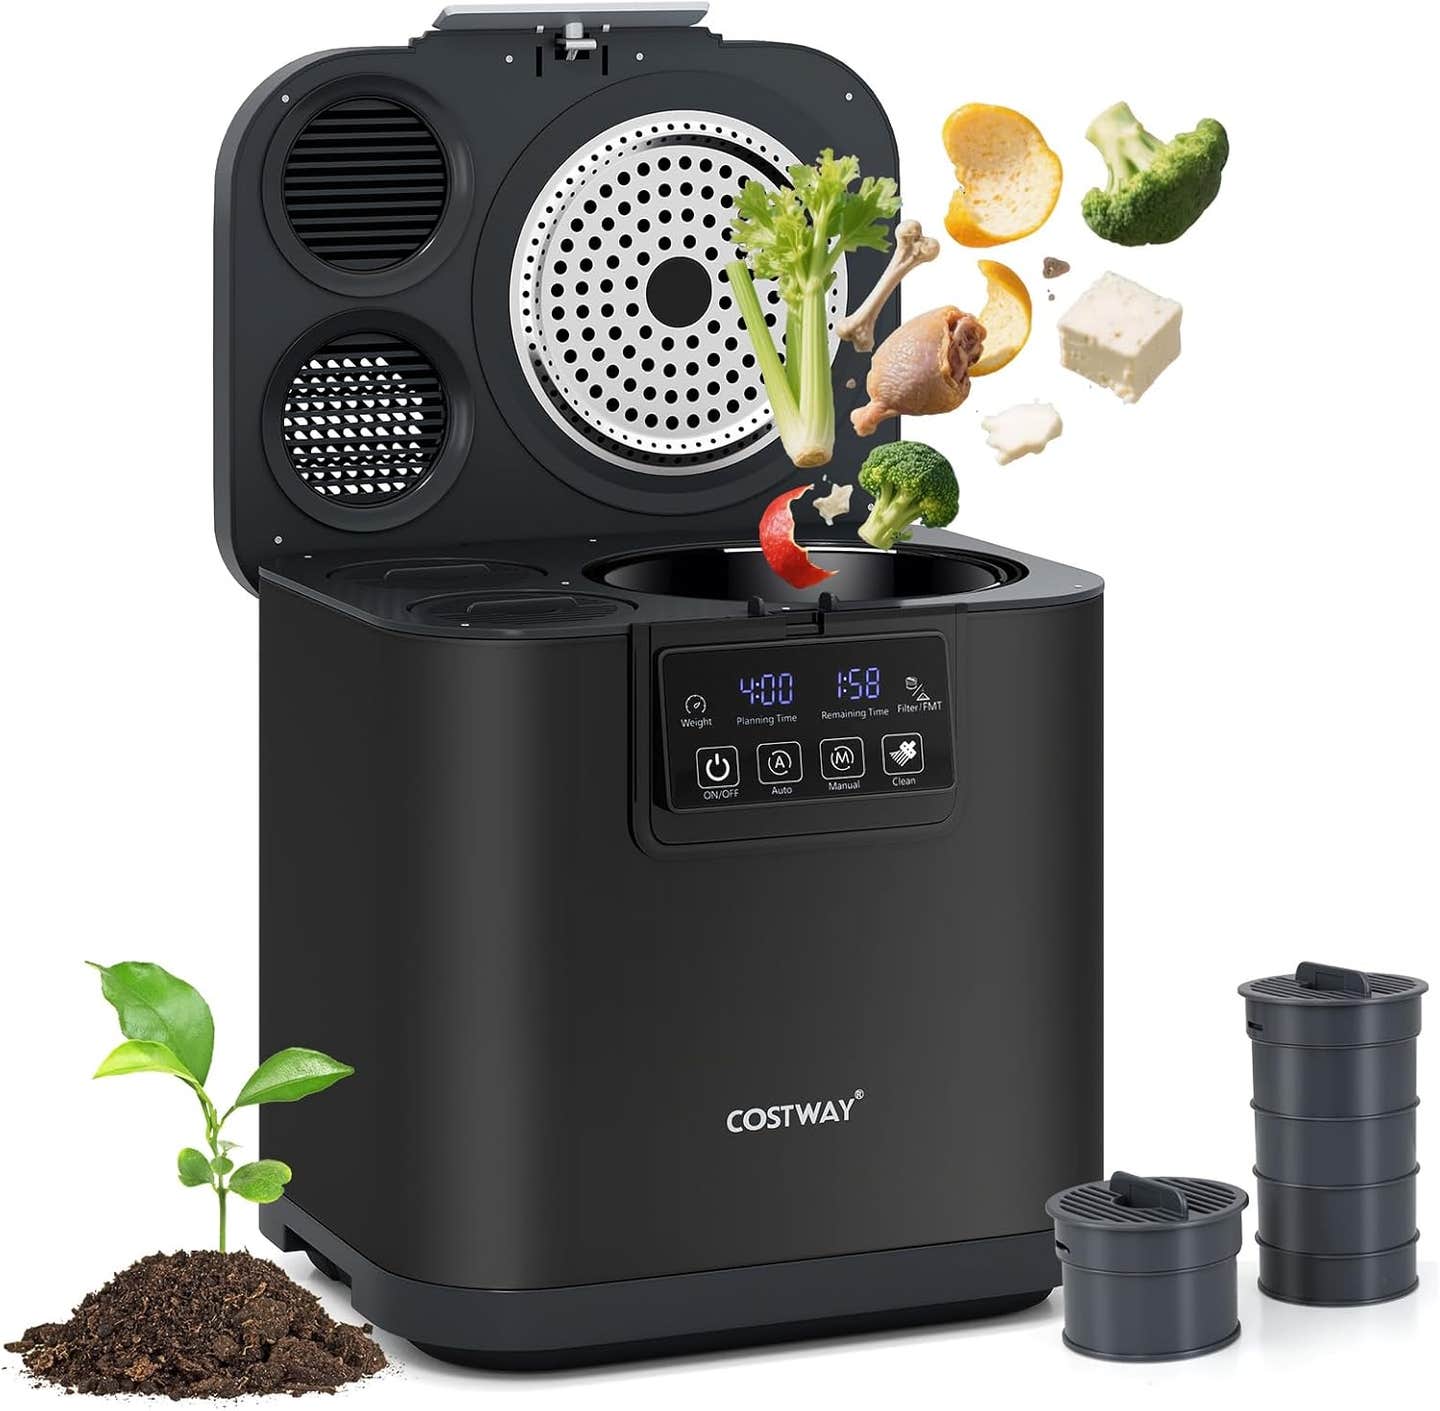
COSTWAY 4L Electric Composter for Kitchen, Smart Waste Dispenser Countertop Compost Machine
Vermiculture: Worms Do the Work
Worms are champions of compost production, and small-scale vermiculture creates the ideal environment to have worms create a high-nutrient amendment for your garden.
Indoor vermiculture systems are typically made up of trays to which you add newspaper (or another type of carbon-rich medium) and kitchen scraps, and let the worms work their magic. There are also units called Subpods that can be buried within a garden, where it keeps the worms contained and focused on the food that you give them. One Subpod measures roughly 30 by 17 inches and can handle the kitchen scraps from a family of four.
The most common worms used in vermiculture are red wigglers (Eisenia fetida), also called composting worms. Jim Shaw of Uncle Jim's Worm Farm says that in a perfect world, composting worms will eat the equivalent of their body weight in kitchen scraps daily, so plan to have enough worms to handle your family's needs. Worm compost bin.
Pros of vermiculture
- Worm castings, the resulting product of vermiculture, is one of the garden's most nutrient-rich amendments
- There is little to no smell when everything works as it should
- Worms can compost everything from kitchen scraps to garden debris, especially in the larger outdoor systems
Cons of vermiculture
- You have to monitor and feed the indoor worms at least weekly; you’ll need a worm sitter if you're gone for an extended period
- Sometimes flies are attracted to indoor vermiculture systems, although freezing the kitchen scraps before adding them to the trays can help
- You need to maintain a correct temperature and humidity in order for the system to work its best
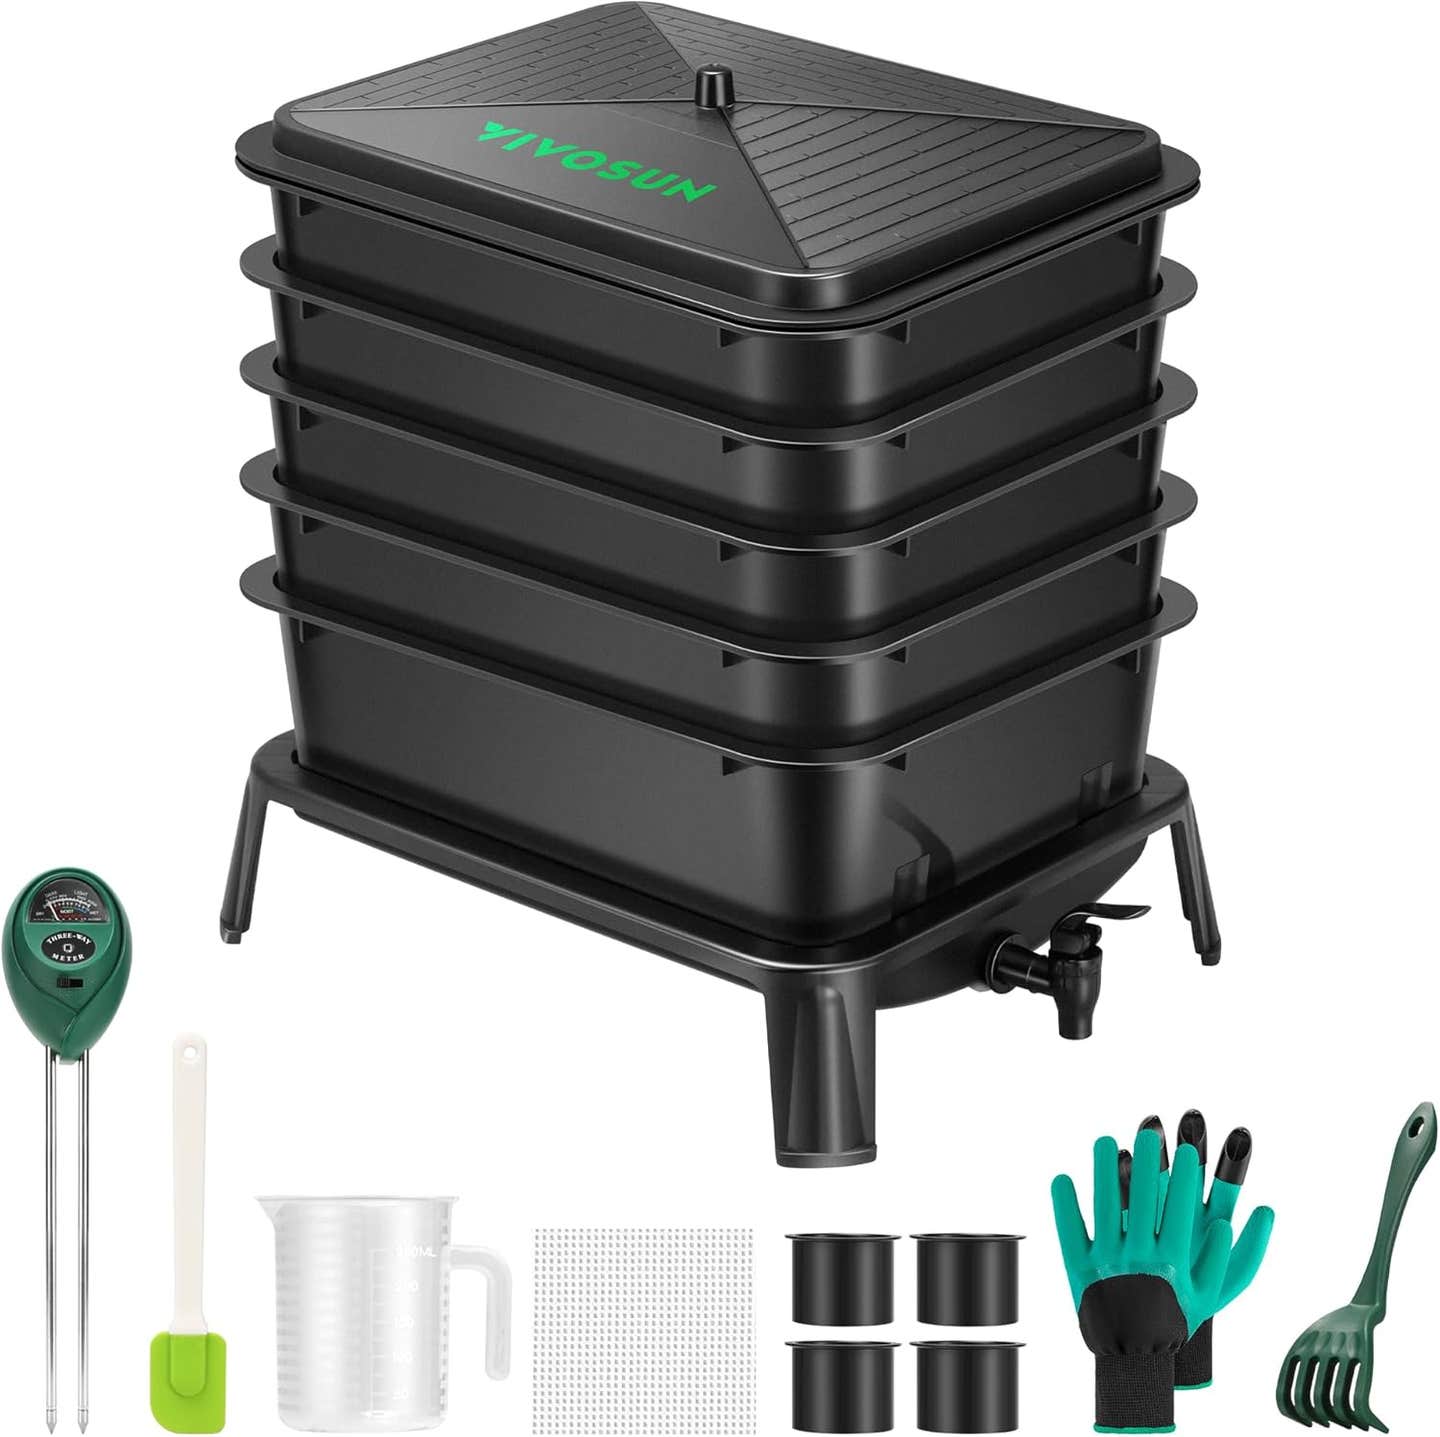
VIVOSUN 5-Layer Worm Compost Bin, 50L Worm Composter
Leave It to Commercial Composters
If you would rather have someone else handle the composting process, consider signing up for a local commercial compost operation. There are variations on the details, but in general these services collect kitchen waste, including dairy, meat, bread and non-bleached paper, by curbside pickup or at a drop-off location. The business composts it at the required temperature to kill any pathogens and break down the materials and then offers the finished compost for sale either in bulk or bagged form to use in your garden.
Pros of commercial composting
- This is the ultimate no-fuss method: just set it out and they will do the rest
- They can compost more types of items, including meat, than most home methods
- Some companies or municipalities will also take lawn and garden waste
Cons of commercial composting
- Most other composting methods are free or relatively inexpensive, but this service has a cost
- Because most companies pick up once or twice a week, you must keep your food waste somewhere between those times
- Not all companies take garden waste, so you may still need an outlet for that valuable material